

Key Takeaways
Option A
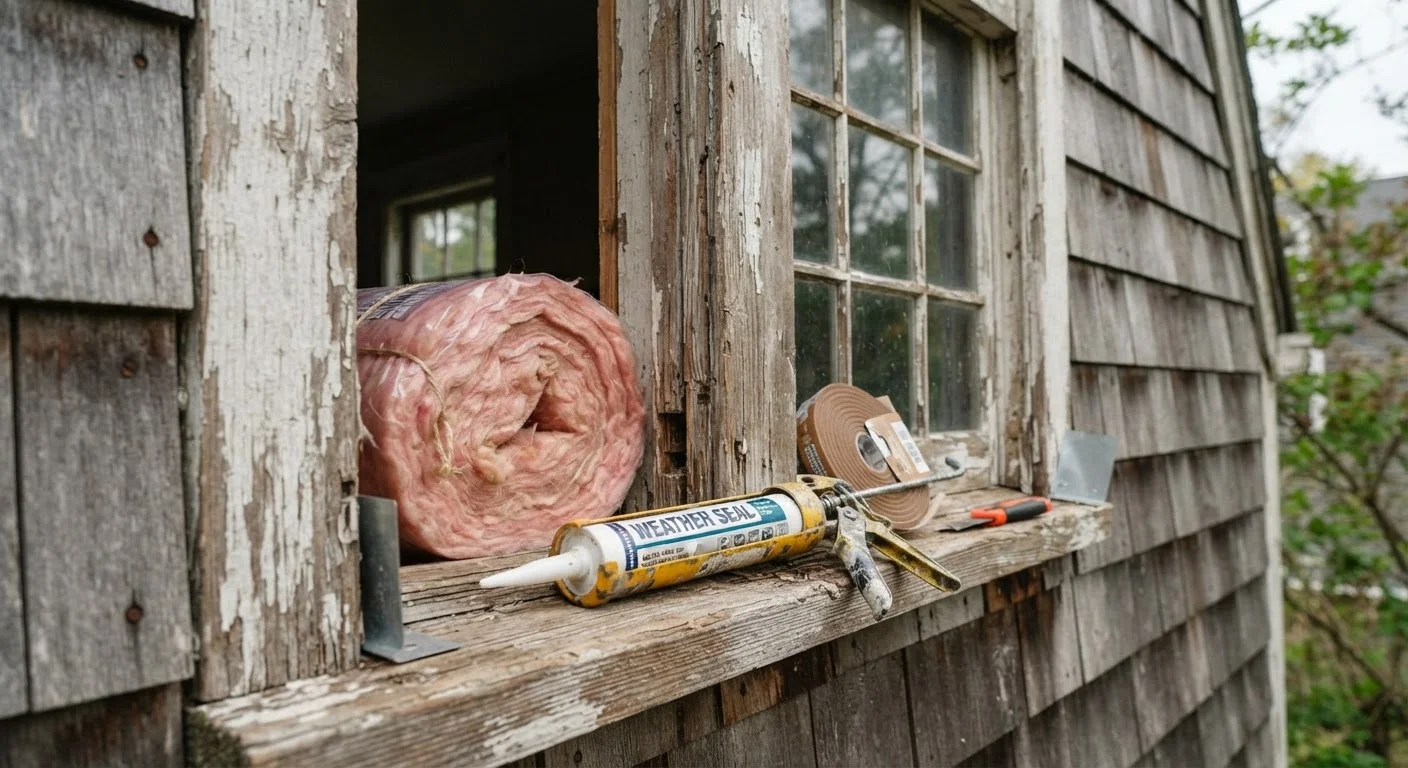
Weatherstripping and Caulking
The low-cost, DIY-friendly starting point.
Best for: Homeowners who want immediate, inexpensive air-sealing results around doors and windows.
Option B
Insulation
The larger investment with long-term thermal payoff.
Best for: Households dealing with persistent heating and cooling loss through attics, walls, or crawl spaces.
If your budget is under $100 and you want to start this weekend
Weatherstripping and Caulking
Both materials are inexpensive and widely available. A few hours of work can seal gaps around doors and windows without any specialized tools.
If your home has an under-insulated attic
Insulation
Attic insulation addresses one of the largest sources of heat loss in older American homes. The upfront cost is higher, but the thermal improvement affects the whole house year-round.
If you can feel drafts near specific doors or window frames
Weatherstripping and Caulking
Localized drafts at door edges and window perimeters are exactly what weatherstripping and caulking are designed to fix, at a fraction of the cost of insulation work.
If you are planning a long-term energy efficiency upgrade
Insulation
Insulation in attics, floors, and walls reduces the thermal load on your heating and cooling system over many years, which can help offset higher equipment costs.
If you rent or plan to move within two years
Weatherstripping and Caulking
The low cost and quick application make these the practical choice when you cannot recoup a larger insulation investment over time.
What each approach actually does
Weatherstripping and caulking both address air infiltration: the movement of outside air into your home through gaps and cracks. Weatherstripping is a compressible material applied along the edges of operable surfaces like doors and windows. Caulking is a flexible sealant applied to stationary gaps, typically around window frames, baseboards, and plumbing penetrations. Both block the path that outside air travels through.
Insulation works differently. It slows the transfer of heat through solid surfaces such as walls, ceilings, and floors. Where weatherstripping and caulking stop air movement, insulation reduces the rate at which heat conducts through the building materials themselves. A well-sealed but under-insulated attic will still lose heat steadily on a cold night. A well-insulated but unsealed attic may still feel drafty near openings. The two problems are related but not interchangeable.
For a broader look at where household energy actually goes, see where home energy bills actually go.
Cost and complexity compared
| Criterion | Weatherstripping and Caulking | Insulation |
|---|---|---|
| Typical material cost | $10 to $100 | $300 to $3,000+ |
| DIY-friendly | Yes, for most gaps | Partly (attic batts); walls typically need a pro |
| Primary function | Blocks air infiltration | Reduces heat conduction |
| Best location | Doors, windows, baseboards | Attic, walls, crawl spaces |
| Time to complete | Hours to one day | One to several days |
| Lifespan before replacement | 3 to 10 years | 20 to 40+ years |
| Permit usually required | No | Sometimes (check locally) |
Caulk tubes typically cost $3 to $10 each, and a standard door weatherstripping kit runs $10 to $30. A determined homeowner can seal every window and door in an average-sized home for under $100 in materials. The skill floor is low: the main requirements are surface preparation and patience.
Insulation is more variable. Adding blown-in cellulose or fiberglass to an attic floor costs roughly $1,500 to $3,000 for a typical home when professionally installed, though DIY batt installation in accessible attics can cost less. Wall insulation is more disruptive and usually requires professional work. Crawl space insulation sits in between.
Choosing where to spend is easier when you have a clear household budget framework. Keeping a home repair and improvement budget that accounts for phased upgrades helps families prioritize without overextending.
Where the real savings come from
The U.S. Department of Energy has stated that sealing air leaks and adding insulation can be among the most cost-effective home improvements for reducing energy use, though actual savings depend heavily on the starting condition of the home, local climate, and energy prices. A home with large unsealed gaps will see a more dramatic improvement from caulking and weatherstripping than a home that was already reasonably tight.
Attic insulation consistently shows strong returns because heat rises. In winter, inadequate attic insulation allows warm air to escape upward continuously. In summer, a poorly insulated attic absorbs outdoor heat and transfers it into living spaces, forcing air conditioning to work harder. Adding insulation to R-value levels recommended for your climate zone by the Department of Energy addresses both problems.
Caulking and weatherstripping deliver fast, visible results in specific spots but do not change the thermal resistance of surfaces. A home in a cold climate with single-pane windows and R-11 attic insulation will benefit more from upgrading insulation than from applying fresh caulk around window frames.
Small home upgrades with an outsized impact covers how these and other low-cost improvements stack up in practice.
Which to do first
The practical sequence for most homes is: seal first, then insulate. Air sealing costs little and removes variables before you invest in insulation. If you add attic insulation over large unsealed gaps around light fixtures, plumbing chases, or attic hatches, conditioned air will still escape through those openings and reduce the effectiveness of the insulation above.
A home energy audit, offered by many utility companies at low or no cost, can identify exactly where leakage is concentrated. That information removes the guesswork from deciding whether weatherstripping a back door or insulating a crawl space is the higher-priority task.
One caution worth noting: cutting corners on either approach can create longer-term problems. Improperly installed insulation can trap moisture and lead to mold. Caulking over painted or dirty surfaces fails quickly. Why cheap fixes sometimes cost more in the long run addresses how shortcuts in home maintenance often reverse their own savings.